January PL (part 3) with Simple Stories Sn@p

I am diligently plugging away at getting January "in the books"!! But so want to be done with February already too.  If this is the pace that I am going to be taking for the New Year, so much for staying on top of things this year.  Can't imagine what state I (or my PL) will be in by August. Yikes!
 
In the top pocket I documented a visit to a local café that we frequent quite often. The picture is of their business card, laid on a green napkin (which is the way the owner placed it on the counter when he was putting my order in a carrier bag) so I quickly took a snapshot.  I thought rather than taking yet another picture of food, as I already take so many, I would capture the moment another way.  Brilliant little Italian place but also does British style breakfast and rolls in the morning, plus a fab cup of Hot Chocolate or Ho Cho as we like to call it now!  (check them out if you like http://www.eatatpalmieris.co.uk/
The bottom pocket is pretty self explanatory, when life is horrible, there's always the hope that chocolate will fix it!! And peanut M&M's are my go-to chocolate!
SUPPLIES | Top Pocket - the "Every Little Thing" tag in upper right hand corner is by Simple Stories and the black & white polka dot background card is a Project Life card but I'm not sure which line I took it from, plus black & white Washi tape. Bottom Pocket - yellow background paper is a 6x6 pad by Dovecraft. The "Notes, Notes, Notes" card is a PL card from the Honey line. The peanut M&M stickers are from my stash and very old, believe they are by EK Success.  The pink heart is a wood veneer from Studio Calico, coloured with a marker, from the Sugar Rush kit.
 Again, using my Insta-apps to document my life! This is Insta-place (on the top)!  More pics of Rupert and I enjoying our walks at Braywick Park.
SUPPLIES | Queen & Co brown and white polka dot washi tape. Top page: "currently" sticker is by Simple Stories.  Bottom page: "Enjoy everyday" flag sticker is by Simple Stories, the "Play" sticker is by Studio Calico from American Crafts Accent Stickers and the "You&I" sticker is by Simple Stories Cardstock Stickers Everyday line.
 
 As always, there's nothing better than a game of fetch or tug of war with a stick of the right length and width, carefully chosen by Rupert. Not just any old stick will do!  Sometimes he will pick up 5 or 6 before he decides on the right one.  On occasion, if he becomes obsessed with one of these sticks, I will take it home with us to bring it back next time.  I'm a saddo really, but if it makes him happy! 
 In reading a lot of other blogs and also seeing other peoples Project Life online I've come to realise they seem to include a bit more of themselves in their PL.  I suppose "not including myself" really isn't something new to me as I typically didn't make it a habit to include myself in my regular/traditional scrapbooking.  So.... this is why I am trying to make a conscious effort to include more of myself, in small ways. Thought starting with something like my feet and legs would be easy, still bits of me. Sort of ease myself into it.
 As my father was an avid photographer when I was growing up and considered himself to fall within the rankings of, say maybe David Bailey or Robert Frank or one of the many from National Geographic I constantly had a camera shoved in my face and as well, was put in many mock scenarios to create the right Kodak moment for him to  'candidly' capture it.  Hence the reason that I now, as an adult, don't really like having my picture taken, but I'm still trying to change that.
SUPPLIES | The circular metal clip on the top of the page is very old and from my stash, not sure on brand as had it in one of those plastic sectioned boxes.  All the washi tape is by Queen & Co. The polka dot strips above and below the black & white polka dot tape are simply trimmings from some paper I was using.  The black & white chevron paper on the bottom pocket is by Studio Calico.  The "Sunday" tab on the bottom pocket is actually the top of a PL 3x4 card from the Blush line. The circular pink & black brad is a funky brad by Dovecraft from their Rose Tinted Christmas line. The pink speech bubble card below is a PL card from the Blush line which I have just cut down to fit over the 3x4 pocket. The "selfie" (which I don't really like) is a photo altered with my FXCamera app.
 Still need to include my journaling on the inside of the card, about how I need to start including myself more, it is my life I'm documenting after all.  Take more "selfies"!
An artsy photo of Rupert in the top left pocket, using one of my photo editing apps (FXCamera). Mounted on SC chevron paper with a gold SC chipboard heart sticker..  On the right a screenshot of my FB status for January 23rd, where I was interviewing for various positions at a business park called Stockley Park near Heathrow.  In the bottom pocket a photo taken through the windscreen of my car as I was driving through Burnham Beeches to IHG in Denham, which I altered with one of my editing apps.
 
SUPPLIES | The orange background paper is Bazzill with a PL 4x6 grid card on top of that. A plain large paper tag and then a small pink check tag (old American Crafts, from a kit) split in half, one on each side of the picture plus (2) pink SC chipboard stars.  The letters at the top are rub-ons ("driving" & "IHG") from a random kit I received ages ago whereas the "to" letters are from the Typeset alphas by Simple Stories. The "status update" sticker is by Simple Stories.
 
 This was an easy page, sometimes I think the photos can just speak for themselves and extra embellishments aren't necessary.  Down the left hand side of the page is a photo strip I made using a few extra pictures from when Rupert & I were at Braywick Park.  In the top pocket is a 4x4 photo using my Insta-place app.  This pic is of our front hallway as we are now packing up our life!  Chaos!  Below that is a 4x4 picture using my Insta-food app, told  you I was Insta-crazy!  In all the chaos, running back and forth to the storage company for boxes, etc., packing up the house and trying to get round to house viewings my lunch wasn't the most nutritious, to say the least.  I should really try to do better but sometimes I find myself just eating what is easiest. So shameful when there aren't really any nutritional benefits in stuff like this.  I used one of the skins in Insta-Food and then added text to the bottom of the pic. 

Leading into February....
(front)
 I have added something new this year to my PL.  I don't usually have dividers to separate the months of my PL. I know that you can purchase the Becky Higgins monthly dividers but as I am using the Simple Stories 6x8 album these wouldn't really work size wise.  I was actually inspired to create these after reading a post by Kelly Xenos (which you can find here) a fellow SC'er and someone I follow on Bloglovin. I love her stuff! With her monthly dividers she did choose to continue along with the pocket pages but as I am trying to really work my way through my massive hoard & stash this year I decided to simply use up some scrap pink cardstock and some old pink love heart paper I have taking up space.  Created a tab along the top and then ran the cardstock through my printer to print "February" on it.
 (back)
 
Well that's it for me for January.  Finally!! Hallelujah!  I'm going to consider myself finished.  There are actually other pictures I can add but as I need to feel like I'm moving forward, I'm going to call it finished for now.  If I get the time and the creative inspiration I may come back and add more.

Thanks for stopping by to have a look!
Christine   : )

Onwards and upwards!
 

January PL (via Simple Stories Sn@p) Part 2

Today I am sharing my January Project Life (via Sn@p) part 2, or part deux!

With all the rain and bad weather that we've been having here in the UK I thought it fitting to create a page about it.  We live local to Cookham Moor which is a lovely place to walk Rupert along the Thames, especially when the weather is nice.  The views are beautiful and there are loads of other people there walking their dogs so it is also a good place for social interaction for him. Over the past week (January 6th thru 12th) or so it has been raining nearly non-stop here and as well we have been hit with gale force winds.  We had heard that a lot of low lying local villages had been flooded and also that the river had overflowed, which I've been told is quite common here.  So I went along one afternoon to Cookham to see what all the hub-bub was about and I was shocked to see the road through Cookham was completely underwater, a sight to behold.  Well, sadly for Rupert we won't be walking him at Cookham Moor for quite some time. In this layout I wanted to echo the colours of the outdoors and water so choose the green and blue colour palette.  It also worked well as I had just received a new Washi tape by Queen & Co with a blue background and green dots on it.  I am absolutely dotty for polka dots! (as I'm sure you've noticed by now).  And as you can see, in the lower corner I have included another Insta-Weather snap.  I am just loving my Insta apps!
SUPPLIES | Background paper is heavy cardstock that comes with the Simple Stories Sn@p albums. The pics used are from Insta-Weather. The blue & green polka dot (which I am obsessed with) Washi tape is by Queen & Co, Trendy Tape. "Been There" & "What" sticker are Simple Stories. The blue "Flooded" letters by also Simple Stories from the Sn@p Stickers Letters pack. The multi-colour arrow, gray Sunday tab and both stars are from the Daily Grind Simple Stories bits & pieces pack. The Beech Bend Park ticket tucked in the upper corner of the page is from the SC Double Scoop kit as is the green paper behind the main photo, its by MME called Presh "Right Now" by Jen Allyson. The blue camera brad is by Simple Stories from their Sn@p Brads - Life pack. The "Golly" sticker is Dymo style tape from Marcella by Kay embossed stickers. The "Cookham Moor" green lettering is from a kit (don't think it was a major brand name) that I found at TJ Maxx (the British equivalent of TK Maxx - not sure why they changed the K to J)
 
A Night Out in Windsor (with Big Dan & Sembi)  With this page my main photo was taken with my Insta-place app. I blew it up larger than its usual 4x4 size so that it was almost the full size of the page. I really liked the rich blueness of the night sky in the photo and wanted to accent this with some different colours, sort of step outside my usual comfort scrapping zone so pulled out my handy dandy colour wheel and went with the triad colours for blue - variants of orange and green. I think it looks a bit wild with all the polka dots, green & orange contrasts and it turned out quite psychedelic in the end. Not sure whether I like it or not but at least it's down on paper. I tried spelling out the title with different colour letters but the green didn't seem to work, neither did a shade of blue so I ended up with orange as I thought it looked best. As I didn't think it popped enough against the background I drew around it with a black marker.
SUPPLIES | Orange and white polka dot background paper is by Bo Bunny, think its called "Gift of Life". Very old from my stash.  All the letter stickers are by Simple Stories, from two different packs - Sn@p Stickers Letters (big orange) and Sn@p Stickers Typeset(small orange & green). The ampersand is by lilybee design called Sweet Shoppe letter stickers. The green polka dot Washi tape is Trendy Tape by Queen & Co.
  
For this following layout, as I had picked up the Nando's takeaway menu as a memento from that night I wanted to use it in my layout.  This page actually came together quite quickly.  Once I decided to use the Peri-ometer multi-coloured pepper I knew that I could use these colours in my page. I enjoyed the bright colours used on this page and funny enough I never would have expected to ever use a gold doily in my scrapbooking.  When I received it in my kit, I thought to myself "I am never, like never, ever (in the words of Taylor Swift) going to use a gold doily in my scrapbooking".  Funnily enough, when I was working on this page and had all the elements laid out on the page, I felt I was missing something in the lower left hand corner and it just wasn't tying all together.  And then into my head popped that gold doily.  As I didn't think I was ever going to use it I did have a difficult time finding it as I hadn't put it with my usual stash.  However, I think it worked out quite well in the end with the page layout and colours.  What do you think?
 SUPPLIES |  The base paper is from my stash and is Basic Grey I do believe, called "Out of Print Classifieds" - this is actually side B, if you will, the other side has coloured newsprint strips on it and is why I purchased it in the first place.   As you can see I cut up the takeaway menu from Nando's and used that as the base for my background.  Tucked behind the menu is a gold doily from the SC Double Scoop kit.  The orange heart in the bottom right hand corner is actually something I punched out from the back of the menu.  All the word stickers "Say Cheese; My Life; Its all Good; & Enjoy!" are all by Simple Stories.  The Peri-ometer pepper is cut from the menu.  The orange star is also Simple Stories and the metal art brad (with the brad removed) in the lower left corner is an old, old K& Co product.

For the page opposite I continued to carry on with the same bright colours, I'm thinking I may have gone a bit overboard at this point though.  Upon reflection I do have to say that I did enjoy these pages as they are not the typical colours that I would usually scrap with.
SUPPLIES | The background paper in the top pocket is Bazzill peach cardstock and on this is a scrap of the orange and white polka dot paper by Bo Bunny.  All the embellishments (grid journaling tag, Details arrow, Today chipboard speech bubble and Life brad) are all Simple Stories.  The "Fun" embossed Dymo style sticker is Marcella by Kay and the yellow brad is by MME from The Sweetest Thing pack. For the pocket on the bottom the green polka dot background paper is from a random kit that I found at TK Maxx ages ago. The yellow chipboard "2 of a Kind" number is by K&Co from the Wild Saffron line, the "Been There" green arrow sticker is by Simple Stories, the orange brad by MME Sweetest Thing, the "Awesome" tag is by Simple Stories which is the top of a bingo card that I cut off and the green chipboard button is by Webster's Pages, buttons & twine from the Your Life. Beautiful.

Close up shots of the detail on the page


This next layout is about, surprise, surprise, my dog Rupert!  He lets me "torture him" frequently by taking picture after picture of him, I suppose he really is quite good when you think about it.  On this day I was sorting the laundry, putting stuff in the machine and taking damp stuff out, then putting it into the laundry basket.  Rupert was watching me and curious as he is he put his paws up on the edge of the basket to look into it and that's when my "evil plan" hit me.  How cute would he look sitting in the basket with the laundry sign in front of him?  Then I could create a layout titled "Dirty Dog".   So I set up my props and went about conducting my mock photo shoot!
 Below are both pages together, as I felt one picture just didn't truly represent the cuteness of this "photo shoot".  I was amazed at how good he was, just sat in the basket and let me click away, time after time.  I kinda thought that he would try to jump out and run away.  But no, he's a good boy and sat there patiently while his crazy mother humiliated him in front of all the other neighbourhood kids. Gotta love that dog! x
SUPPLIES | The blue polka dot background paper on the left is by Studio Calico, not sure on the name. Blue "Dirty Dog" stickers are by Simple Stories, Daily Grind line. The blue circular tag is by Elle's Studio. The four stickers at the bottom of the left page are all by Simple Stories (Vintage Bliss & Daily Grind lines) and the dog house sticker with a loveheart in it is also by Simple Stories 24/7 but I have placed it on a punched out piece of paper to raise it off the page a bit. On the right side, the background paper is simply a piece of Bazzill cardstock, the vellum lovehearts are from the SC Sugar Rush kit, the other punched lovehearts are punched out from scraps of paper I have, the blue & pink enamel dots are from the SC Double Scoop & Sugar Rush kits. The "Be Unique" bingo card is by Simple Stories and the lined note card is from the SC Sugar Rush kit. The blue lined and polka dot circle at the bottom are both scraps of paper from Simple Stories that I punched with my circular punches to fit together.
 
 
 I've noticed this month that I have really gone with not only quite a few colours, but quite a few bright colours.  Maybe it's a sign that I have had enough of this dreary UK weather and am looking forward to a more colourful time of year. 
Roll on Spring!


(I haven't completely finished part 2 but thought I would post what I have so I can feel like I've accomplished something and stop stressing out.  Can't believe its already March and I haven't even started on February).


Thanks for stopping by to have a look!
Christine  : )


Making a Valentine for my Valentine!

 
I am not much of a card-maker and have always been a scrapping girl through and through.  However, having done PL this last year and continuing with it this year I have found that I do enjoy working on a smaller scale than the traditional 12x12 layouts that I am accustomed to.  So I thought with Valentines Day coming up and having quite a few bits and pieces to hand (and a massive stash that needs to be used up) that I would give it a go to see what kind of Valentines Day card I could create.
 
It's probably not as good as some of the phenomenally talented card-makers out there but I think it is a good job for my first official attempt.  With the "3-D" heart I wanted to create something similar to those old style tissue paper hearts & bells you used to see at weddings.  They would come flat, just two pieces of card and a wedge of tissue paper but once you clipped the front & back card together, voila - you had yourself a very cheap but easily made, somewhat... tacky craft paper decoration that looked like it came from your 8th grade home economics classroom.  Don't expect you see those much now at current day weddings.   Although in saying that, those giant tissue paper flowers are quite popular right now.
 
 
 I wanted to try my hand at sewing on the card as well as I need to improve my sewing skills (having just received
 my mini sewing machine at Christmas), so thought it would be cute to create bunting with heart shapes and banners along the top of the card.  For any of you who are more than decent at sewing, you will be able to see that I probably need loads more practice, but I just decided to embrace the crappiness of it and go with it!
For the main bit of card I simply cut a 12x12 white piece of Bazzill cardstock down to 5 1/2 by 11.  For the pink strip across the bottom of the card that I placed the Love letters on, as an afterthought I am now thinking that I should have distressed it or added something to it as it seems quite plain compared to the rest of the card.  Maybe something to experiment with next time.

Thanks for stopping by!
Happy Valentines Day! x
Christine
 
SUPPLIES | Bazzill cardstock - white, pink and red. The brown & pink polka dot paper is by Making Memories - Love Struck, for the pink and white polka dot paper I don't have the manufacturer, just the name which is Up in the Trees and the "Love" lettering are Thickers by American Crafts called Jewelry Box. The "True" letters were in my Studio Calico PL Sugar Rush kit. The red glitter puffy heart is a no name brand and something that was sent to me by my best friend last Valentines Day. The background paper for the card is from a no-name kit that I picked up at TK Maxx so don't have a manufacturer there either.
 

Valentine Cards - Free Printables

 
The source/credit for this great vintage Valentine!

Remember those old style vintage Valentine cards with the cherub faced kids, reminiscent of Campbell's Soup kids, all sweetness and light, with a tag line that was a very cheeky play on words.  I used to love getting those cards when I was a kid, the highlight of Valentines Day!  You could keep the candy hearts or sweethearts, it was the cards I was interested in.  See, even then I loved paper!  In the week leading up to Valentines Day in school we would spend our time making a personalised little construction paper and cardboard mailbox, decorated with glue, glitter, sequins, paint, yarn and whatever crafty items the teacher managed to have in her craft kitty.  Then on that all important day, everyone would come to school with loads of pink and red envelopes stuffed in their book bag, bulging to capacity, excited about not only giving out those Valentines but also receiving them!
 
So, my post today is in honour of Valentines Day.  I have included some free Valentine themed insert cards below.  Now I know they're nowhere near as good as most of the PL cards out there, made by numerous designers and manufacturers but sometimes I like to be creative in other ways with my PL rather than just inserting pre-printed cards or photos.  I just like to play around and see what I can create.  As sharing is another good thing, something else we learned in grade school, I thought I would do so here!
 
Please feel free to download and use in your pocket scrapbooking albums or in whatever way your crafty creativity strikes you!


I am still learning about all things technical so if the link does not work, please post a comment here and I will try to sort it out for you.
 
If  you do download them, I would love to see how you use these in your albums!
 
What are some of your memories about childhood Valentines? I would love to hear about them.
 
Thanks for stopping by!
Christine x
 

January Project Life (part 1)

Well, this is my first official post for my Project Life (with Simple Stories Sn@p Albums) for January.  So far so good!!  Let's hope I can keep on top of documenting my life in a more timely manner this year.  Probably wishful thinking there on my part!  Below is my wonderful and beautiful (I jest) title page.  At this point you're thinking  - "not too exciting" this post.  Yes, I know I've only got my background paper in there so far and nothing else.  I need to get some pics taken of myself, Simon and Rupert and create what already exists in my head. 
Moving along swiftly!
 Okay, so this is my first official "completed" page of the year, walking Rupert at Braywick Park, the day after New Years day.  As I already have quite a few pictures of us walking at Braywick I wanted to capture something from a different perspective. 
Supplies | "What's Happening" sticker is by MME, Cut & Paste.  The stars are from a sticker sheet called Urban Traveller by Simple Stories. Polka dot paper is a Bazzill Basics.

On this next page is an adorable picture of Rupert desperately wanting to go for a walk on New Years day.  He has a funny habit (when we are about to go on a walk) of picking up the proper end of the lead, even when the other end isn't clipped to his collar and walks out the front door with it in his mouth, like he is taking himself for a walk.  Very cute!  And smart!  So this was his very subtle way of telling us that he wanted to go for a walk.
Supplies | 3x4 "Today" card is from the SC Double Scoop PL Kit.  The "Genuine" sticker along with the star sticker and the 4x6 "Life as we Know It" insert card are all Simple Stories. Not sure about the brand for the striped paper on the top pocket has this as been in my stash for quite some time but I believe it was called Skate Shoppe (maybe old Bo Bunny) and the cloud paper in the bottom pocket is from the SC Double Scoop Scrapbook kit by MME, Cut & Paste design by Jen Allyson.
 
This next page actually wasn't really a planned page so let me give you a bit of background. When I first moved to the UK I had to purge all my belongings (as we were moving into a much smaller house here) and surprisingly in the end I found the purging very cathartic.  Every year since then I do a clear out now at the start of the new year as I still find it so freeing.  Plus it helps eliminate clutter, or at least that is what I am telling myself.  As I was clearing out the winter wardrobe I found some old scarves of Simon's that I was going to donate to charity as he no longer wears them.  As I was putting them in the box to go to the charity shop, for a laugh, I decided to put one of the scarves on Rupert as he was sitting there watching me expectantly whilst I went about my task.  Surprisingly he just sat there with it on and as I found it so totally adorable I decided to take a quick picture of it.  Hence this page was born.  But as you can also see, moments later he was bored with the whole prospect, hence the yawning. Too cute!
Supplies | Blue Chevron paper is from the SC Double Scoop Scrapbook kit by Teresa Collins, Stationery Noted. Light blue enamel dots are from the SC Double Scoop PL kit.  The yellow "Oh Snap" and the camera are actually cut off of an Echo Park 4x6 insert card. The dark blue lettering spelling out "New Years" are by Simple Stories, Urban Traveller as are the gray letters spelling out "Clearout".

Close up of the detail on the upper right hand corner (I splattered the page with some metallic blue misting ink). The sparkly blue brad is by Papermania from their Capsule Collection Embellishment Set.
 Close up of the detail on the lower left hand corner
As we got a lovely note from our landlord the day after Boxing Day that the rent was going up, much to our surprise, we have simply decided that we no longer want to continue to live where we are (as well as for other reasons).  So by January 3rd we were already looking at new houses.  With the house pictured below I had thought, based on the ad and the location, that we had found a hidden gem.  Boy, was I wrong.  This place was like something out of the 70's - décor, smell and all.  Yes, I said smell.  I found it surprising as they had listed the house as "with all mod cons" & "newly renovated".  If this was newly renovated and they only brought it "up to date" (which by their standards, "up to date" was the 70's) I can't imagine what it looked like before - post war maybe?? Don't even want to think about it! Let's just say it was not the place for us.  So disappointed and let-down.  To cheer me up Simon bought me a Ho-Cho at Wild Bean Café.  Always a good pick-me-up!
Supplies | 6x8 page is cardstock page that comes with the Simple Stories Sn@p album. The lettering in the upper corner is by Simple Stories as well as is the orange "No Way" sticker. The brown "Home" & "Zero" embellishments are old American Crafts products which have been in my stash for years. The wood grain stars are from the SC Double Scoop PL kit. The "Right Now" sticker is by MME, Cut & Paste stickers by Jen Allyson. The red circular tag in the middle of the page is Simple Stories as is the arrow at the top of the page which came from The Daily Grind cardstock die-cut bits and pieces pack. As for the chipboard button this is by Webster's Pages, Trendsetter.  I know buttons aren't really popular anymore but I still love using them in my layouts!
 
 Close up of detail on upper right hand corner of page

 
 A mini page dedicated to Fish & Chips Friday,
a big thing in the UK!
(These page protectors are my "custom" made page protectors for (2) 4x4 inserts)   Link to that post is here:http://scrappysnapperck.blogspot.co.uk/2014/01/a-bit-of-late-night-crafting.html
Supplies | The green arrow and the "January" sticker are from the Echo Park Photo Freedom core kit and the "Look" sticker is by Simple Stories.

Back side of the (2) 4x4 custom page - yes, another goofy picture of Rupert.  I take way too many pictures of my dog, I'm aware!  All items used here are by Simple Stories.
 Another (2) 4x4 page. The pic was taken using the InstaFood app and the M&S insert card I created in Word.
Back of page.  Another "Insta" app - which I am obsessed with now.  I am an Insta-Geek!  This one is for Insta-Weather.  Insert card is my own.
"Coming to London" - this page was created using the heavy cardstock pages that come with the Simple Stories Sn@p albums.  I simply cut off the bit that had holes punched in it and inserted it into a 6x8 page protector.
Supplies | 6x8 page is cardstock page that comes with Simple Stories Sn@p album.  Puffy stickers used for "Coming" & "London" are Thickers from the SC Double Scoop Scrapbook kit. The letters spelling out "To" are Echo Park photo freedom core kit letters and the red "True Story" sticker is from Simple Stories.
 
This page reflects my journey up to London to see my long-time childhood friend, who to my surprise, was coming to London and was going to be staying at Leicester Square.  Even though I have been here eight years in the UK I still find taking the Underground such a novelty.  I guess because we just don't have anything like that in L.A and plus you really get the true feeling of London on the underground.  I thought this paper by Simple Stories was perfect with the different coloured lines as it is a good representation of the colours used for the different tube lines in the Underground.  Included my actual train ticket, a pic going down the massive escalator on the Underground and a copy of the tube map along with two tube stop signs.
Supplies | Simple Stories paper from the original Sn@p Life core kit. The "Click" speech bubble is a chipboard embellishment by Simple Stories.  The "Urban Traveller", "Go.See.Do" and "Happy Travels" stickers are all from the Simple Stories Urban Traveller kit. As for the "Ride Boarding Pass" green sticker I am not sure what brand this is as I have had it a while.
 
 Close up of detail on upper right hand corner

I do have a couple more pages that I need to put the finishing touches on; details, journaling and such but as this has been sitting on my craft table the past week, waiting for me to do so I just want to get this off my craft table, figuratively, and posted!  Rather than stressing about it and having it have to be perfect (am allowing myself not to think that way this year) I will just include those additional pages in my part two.

I am happy to have started on January (although it is now February - not gonna go there!) and hope you have enjoyed this post.
 
Thanks for stopping by to take a look!
 
Christine
 
(to be continued...)
 

A Bit of Late Night Crafting

I should really be in bed at this hour but as I have been stressing lately over looking for a job and now on top of that, moving house I have had the desperate desire/need to scrap but just haven't found the time.
 
Well tonight I was sitting in bed, trying to unwind from the day and a thought struck me like a thunderbolt.
 
Recently I have joined a group on Facebook called Pocket Scrapbooking UK & Europe. On this site one of the members, I believe it was the lovely Karen Spreckley turned me onto Insta Place, Insta Weather and Insta Food and I am obsessed now.  I am always and forever taking pictures of my food and had mentioned this when she suggested I download Insta Food. When I told her that I had not heard of this app (but always taking pictures of my food nonetheless), she also said, well if you like something like this, then you will probably also like Insta Weather & Insta Place.  It only took mere moments after that to find them in the play store and download them!
 
I wanted to start including these pictures in my "Project Life" album (via the Simple Stories Sn@p albums) but there wasn't really a pocket page that seemed to work properly.  The pictures print out quite square so I didn't want to cut them down to 3 x 4 or alternatively put them in a 4 x 6 and then fill the left over space with something else.  I typically don't use the pages by Simple Stories that have (2) 4 x 4 pockets and the one 2 x 8 strip as I find the 2 x 8 difficult to fill.  I have used them on occasion but not regularly. I am more of a 3 x 4, 4 x 6 or 6 x 8 girl!
 
So I got to thinking, what if I cut the 2 x 8 strip off and then attempted to sew the (2) 4 x 4 pockets back onto the plastic strip with the holes punched into it.
 
Well, it might be a harebrained idea and it did take a few attempts to sew them back together (as I only just got my mini Hobbycraft sewing machine for Christmas, so sewing is a new "craft" for me), plus I did cut up more than a handful of pocket pages to boot but I got there in the end.  I finally made one that seemed sturdy enough to hold together and for good measure I put some washi tape over the seams in the hopes this will help keep the page from falling apart.  I will let you know how it goes!
 Here's a pic (not a very good one) of the custom pocket pages.  I have to say that I am pleased as punch!
 
Once I got in the crafting mood and the creative juices started flowing I also found myself pulling together a sort of "traditional" page for my Simple Stories album. Granted it's not complete yet as I still need to do my journaling but at least I go to bed and feel like I have done a bit of scrapping.  These pages (the insta pages & the other one below) are the first pages for January 2014.  
Yes, I have yet to create my title page like many others I find but that's simply because I need to sweet talk Simon into letting me take a few pictures of him for the title page this year. He's even more camera shy than me, although I do say he is by far more photogenic than I.
 
Well, as I did say it is quite late I really should go to bed now, considering that it is now 2:30 in the morning.
 
As it is late, apologies if there are any spelling errors or glaring mistakes, I'm probably a bit punchy at this point.
 
Good Night!
And thanks for stopping by.
 
Christine x

Crafting with a Friend

Hello All!

It has been a while since I have been on the blog.  This year I would like to try to be more consistent with my posts, which means making more time for crafting.  I love crafting and wish I could do it 24/7 but sometimes life and grown-up responsibilities, like work and such, get in the way!

I am trying to start on January, have yet to do my title page but today I actually did get a chance to do a bit of crafting with a friend!!  Which is always enjoyable for me.  Even if I am not feeling my scrap "mojo" I seem to find that once I am in a creative environment and talking with someone, excitedly and passionately about scrapping, it just seems to help get the juices flowing.  

So today life didn't completely get in the way and I was able to get together with Cat for some quality scrapping together whilst listening to the Studio Calico play list. 
It was a brilliant afternoon! 
(If you want to see what Cat is working on, you can check out her blog over here: http://decisioninspired.com/)
 At the moment I am working on finishing a chipboard "Mother & Daughter" album for my sister-in-law, that is a belated Christmas present.  I have most of it done, I just need to complete two last pages and put the finishing details on it. 
The picture above is from this album as is
the last picture in this post.
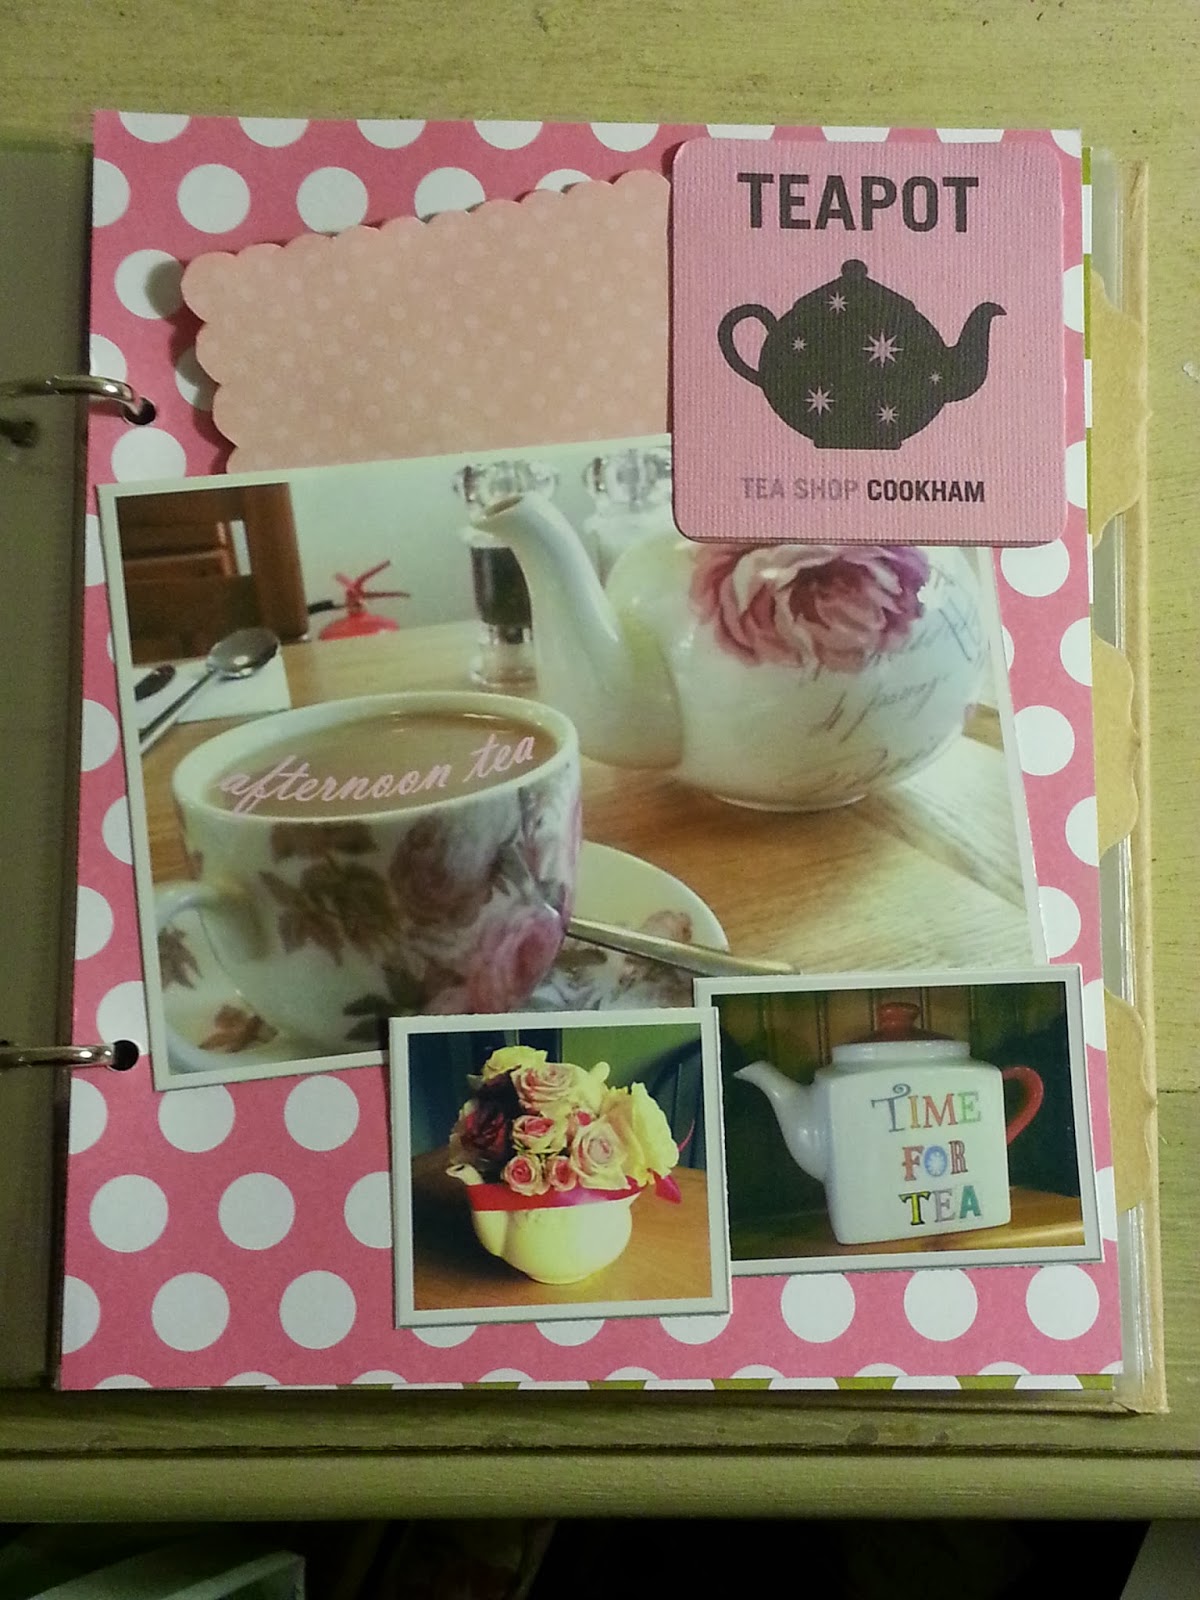
This page here (the pink polka dot page) is a page that I am including in my "Project Life" mini album.  Besides doing the pocket pages I also like to include full size (6x8) pages when I feel the need to be a bit more crafty.
 As mentioned above this page is from the "Mother & Daughter" chipboard album.  Once completed (hopefully this week), I will post the entire album here for all to see along with the supplies used.
Thanks for stopping by and hope you fellow crafters out there have had a chance in the new year madness to find some time to get crafty and creative as well.
It would be great to hear your comments or feedback!  I know people are stopping by as I can see the "posts viewed" numbers but it would be great to hear from you all!
Christine x